

A Farmer’s Market in My Kitchen? #brightfuture #ad
NEWS, SPONSORED | Nirasha Jaganath | June 27, 2014 at 8:41 amThis is a sponsored post!
So yo may recall that I had a post recently about the little documentary The Way Kids See It by Project Sunlight and I promised a little activity to follow. Well to make good on that promise I’m here to show you how I created my very own farmer’s market.
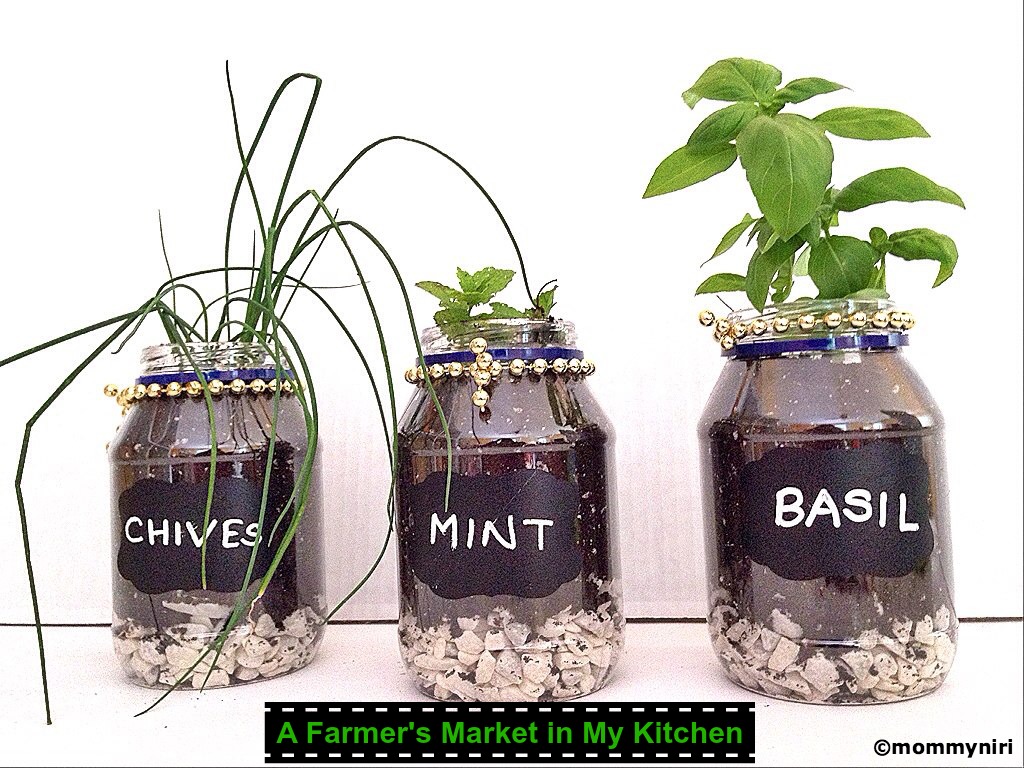
We have always been Farmer’s Market people but in Boston it means fewer opportunities than it would be at another place (yes, I’m jealous) and for 3 years we have done a veggie box outside with decent results. This year is a big year for us going greener, as we took 3 major steps. We put a little fence around our veggie box, which sounds simple but we got tired of all our veggies being ravished after they grew. We joined a CSA (Community Shared Agriculture – which basically means we pay a farmer upfront and take a portion of the veggies yielded in his farm weekly). We started composting – and oh man this was/is a trial and I always get close to throwing in the towel but I see the kids excitement to be part of it and I keep trudging along (and I trust the neighbor can thank me for keeping the town’s fruit flies in my yard.
Speaking about kids, this is exactly why we do what we do. Little changes to impact a difference. Actually ALL of us want to make those changes. Even those who don’t, want to but are afraid. Afraid of not knowing how. Afraid of starting something they can’t keep up with. Afraid it will take too much time. Afraid it will cost them too much.
We actually started calculations at our home and found that while greener initiatives may incur some time and money at start up they save in the long run. See below for how I created a min farmer’s market in my own kitchen. I don’t know about you but seeing things growing and living in my kitchen make me feel fresher and more energetic.
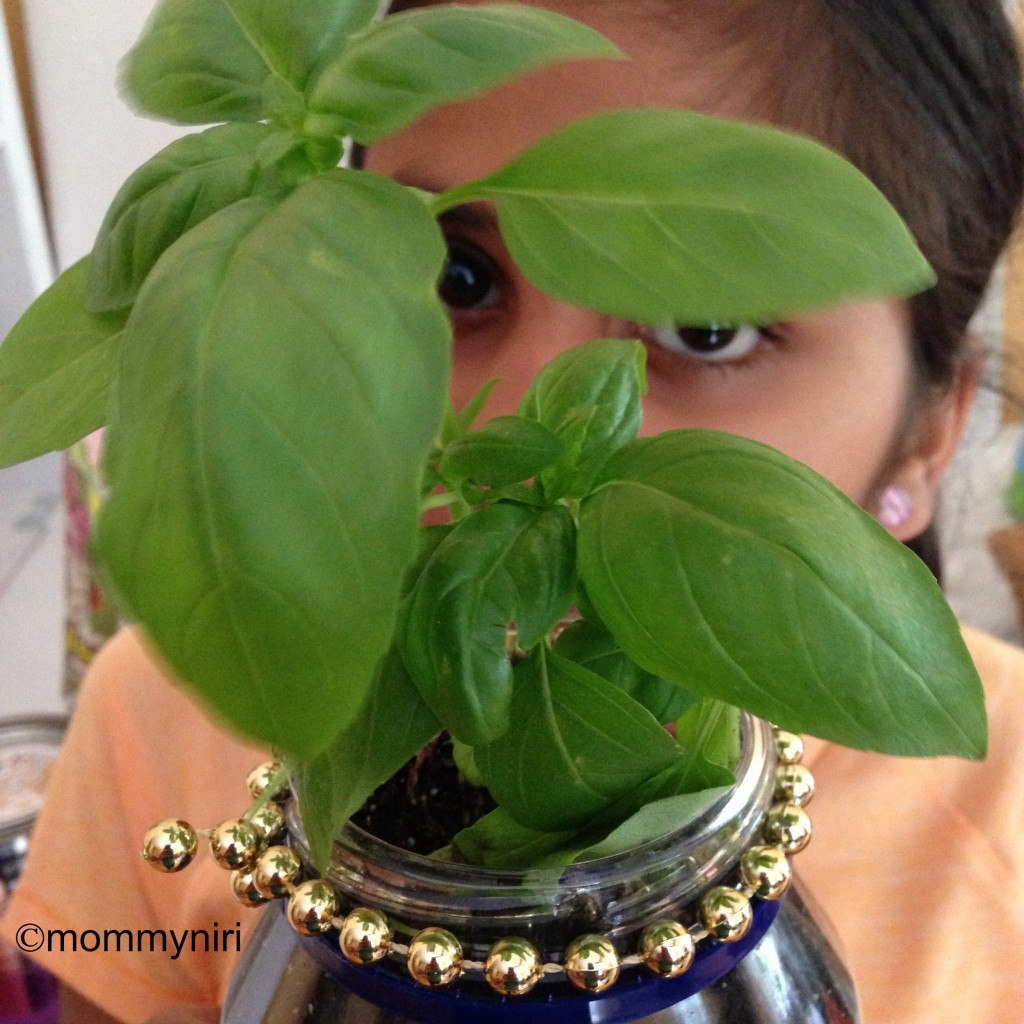
You should get the kids involved. Kids who are part of the cooking/planting process end up eating healthier. Plus, do you know a kid who does not like to get dirty?
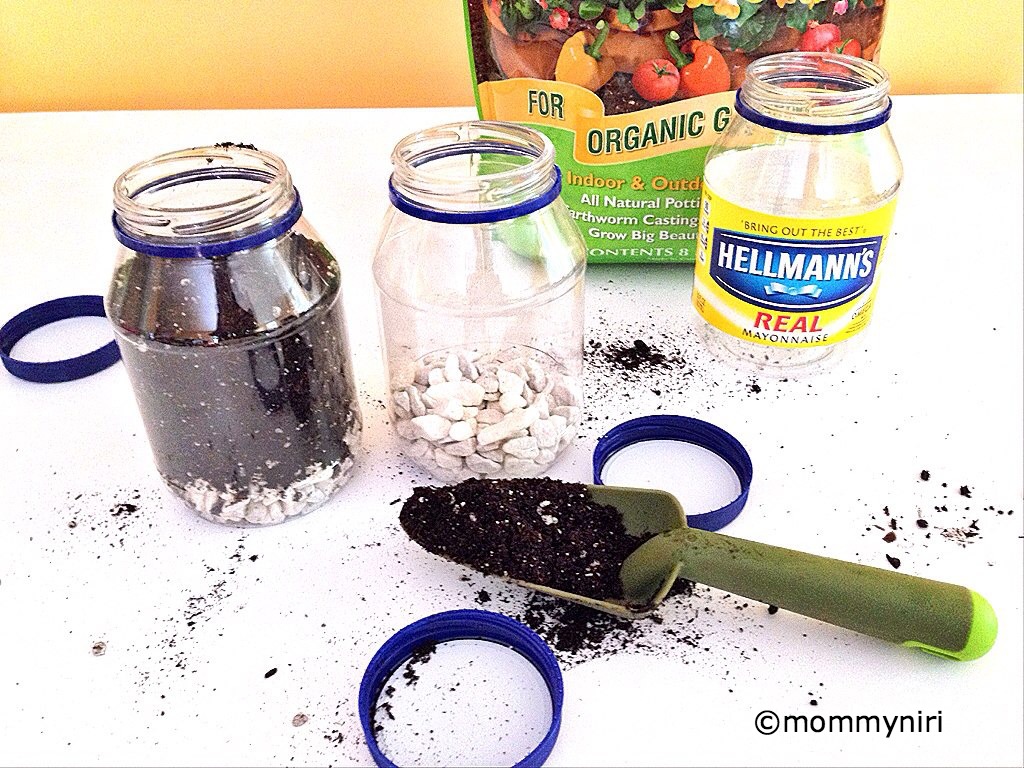
My hands-down favorite mayonnaise bottles were used here and if you’re a reader of Mommy Niri’s you would recall that I used to be a Hellmann’s mayonnaise ambassador and I honestly won’t use any other kind. If you want some recipes to finish up your may faster you may want to try my perfect-for-summer Spicy Grilled Chicken
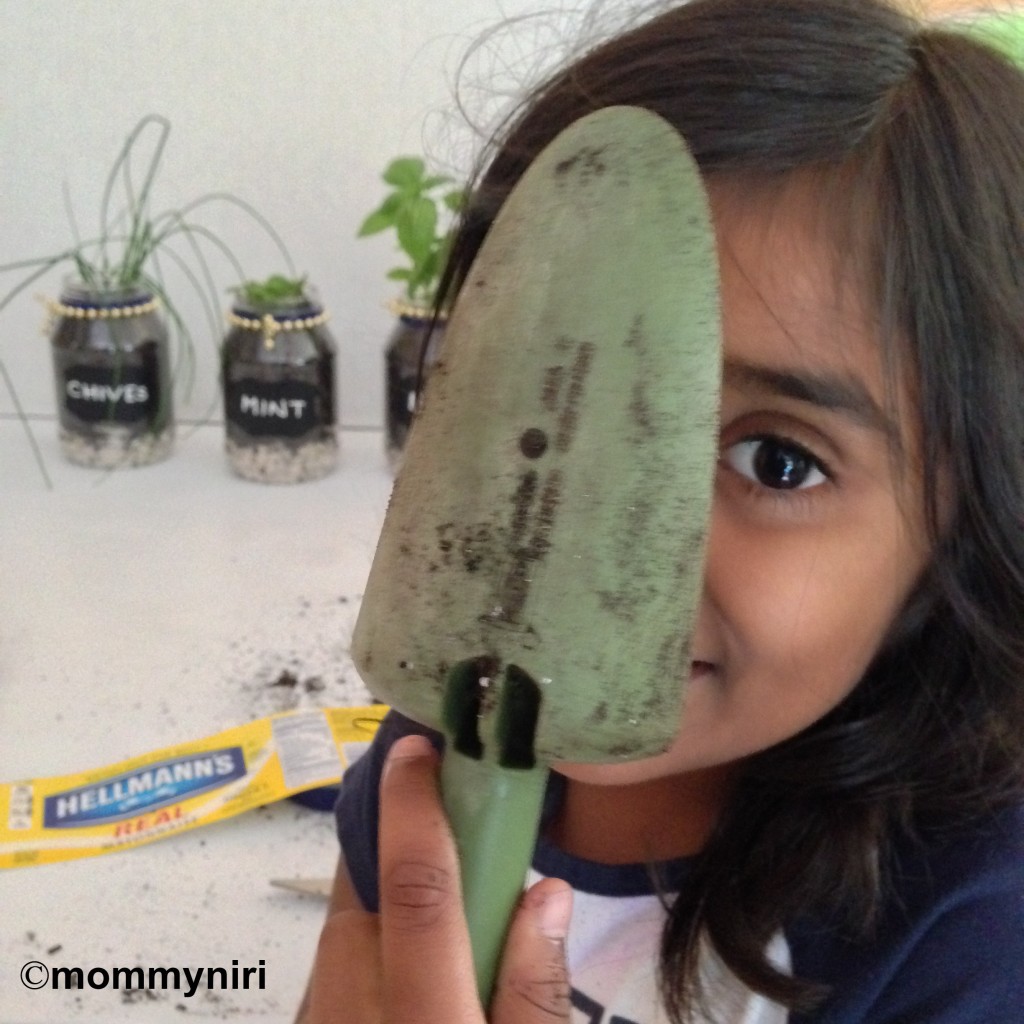
A Farmer’s Market in My Kitchen
What do you need?
- 3-4 8oz bottles. You may want to use glass or plastic but keep it clear so you can easily see how dry/moist soil is. If you need recipes to use up your Hellmann’s mayo I can give you plenty. This way we get to reuse the bottles and stretch our investment.
- Organic potting soil. While buying organic veggies may be tough, growing it organic is easier.
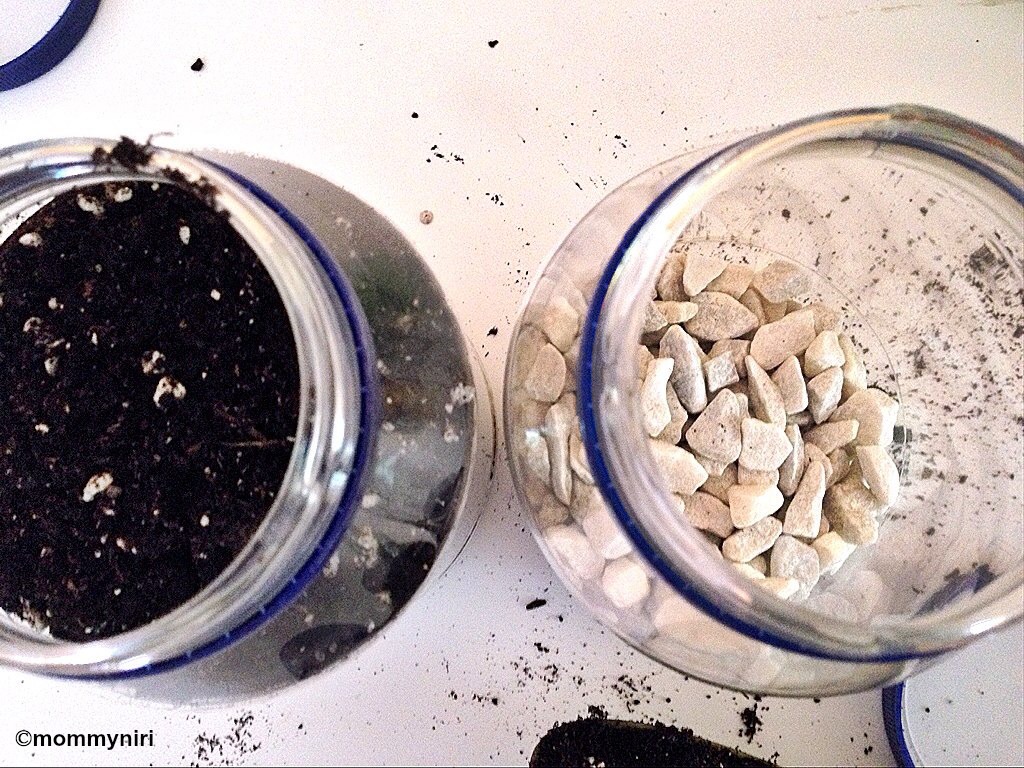
- larger pebbles for the bottom. I like the light colored ones for contrast but go with your preference. Their role is not cosmetic though, they will provide drainage for the water and prevent the soil from becoming too wet.
- Seeds or seedlings. Depending on when you try this seeds should work easier (and cheaper for yielding more) but if you’re a late starter or you like immediate results (it is ok to admit it, gardening is a patience sport and not all of us are well endowed in that field). I used seedlings because you can guess which category I fall in.
- Some ribbon, string or decoration. While this is totally optional to the plants growing they are what gives your jars their personality. or rather YOURS! I chose leftover bead necklace from the last birthday party, see we’re recycling.
- Labels. Well, because it is nice to remember what you planted you you use them correctly in your dishes.
Directions

Disclosure: While this post is part of a sponsored campaign by Unilever Project Sunlight, all opinions and experiences expressed are entirely my own.
 Tweet This
 Digg This
 Save to delicious
 Stumble it
 RSS Feed


